Blog
How to Read a Humminbird Fish Finder

How to Read a Humminbird Fish Finder
Using a Humminbird fish finder can revolutionize your fishing experience, giving you vital insights into underwater environments. Whether you’re a novice or an experienced angler, understanding how to read a fish finder can significantly improve your catch rate. In this comprehensive guide, we’ll explore the basics of Humminbird fish finders, their features, and how to interpret the information they provide.
Understanding the Basics of Humminbird Fish Finders
Humminbird fish finders utilize sonar technology to display underwater structures and fish locations. The main components include:
- Display Screen: This is where you’ll see all the data. It shows depth, fish locations, and bottom contours.
- Transducer: The heart of the fish finder, the transducer sends and receives sonar signals that create images of the underwater world.
- Menu Buttons: These allow you to navigate through settings, adjust sonar views, and customize your experience.

Getting Started: Powering Up and Initial Setup
- Turn on Your Device: Locate the power button and turn on your fish finder. Allow it to boot up completely.
- Select Preferences: Adjust the language, units (imperial or metric), and sonar options according to your preferences. Familiarizing yourself with these settings will enhance your experience.
Understanding Sonar Technology
2D Sonar
Humminbird fish finders typically feature 2D sonar, which provides a traditional view of the underwater environment. Here’s how to interpret what you see:
- Fish Arches: Fish often appear as arcs on the display. The size and shape of the arc can indicate the size and depth of the fish.
- Bottom Structure: The bottom is usually represented as a solid line. Irregularities in this line indicate rocks, vegetation, or other structures where fish might be hiding.
Down Imaging and Side Imaging
Humminbird models often come with advanced imaging features:
- Down Imaging: This feature gives you a more detailed view of what’s directly below your boat. Look for clear images of fish and structures, which can help you identify productive fishing spots.
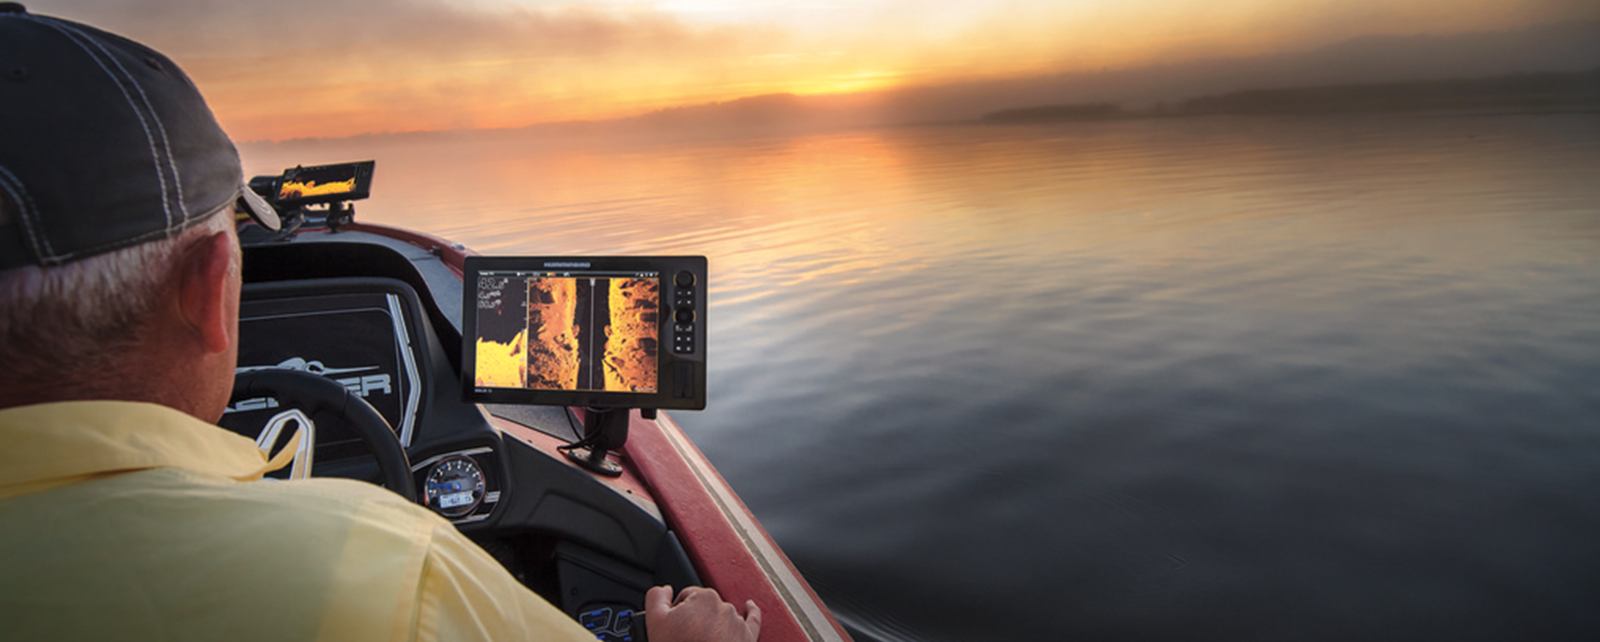
- Side Imaging: This allows you to see a wider area on either side of your boat, making it easier to locate fish and structures that are not directly beneath you. This is especially useful when fishing in open water or around submerged structures.
Reading Depth and Water Temperature
Understanding depth and temperature is crucial for successful fishing:
- Depth Readout: Your fish finder displays the current depth prominently. This information helps you target fish at specific depths, especially during different seasons.
- Water Temperature: Many Humminbird models show water temperature, which influences fish behavior. Warmer waters typically draw in more active fish, while cooler temperatures might push them deeper.
Identifying Fish and Structures
Color Coding
Humminbird fish finders use color coding to indicate the strength of sonar returns:
- Red/Orange: Strong returns, often indicating solid objects or fish.
- Blue/Green: Weaker returns, typically representing soft bottoms or less dense structures.
Fish Symbols
Some models allow you to enable fish symbols on your display. This feature can make it easier to identify where fish are located, especially if you’re new to interpreting sonar data.
Interpreting Data: What to Look For
Structure and Cover
Pay attention to changes in the bottom contour displayed on your fish finder. Areas with rocks, vegetation, or submerged structures often hold fish, providing cover and food sources.
Fish Density
A higher concentration of fish arcs indicates productive fishing spots. Look for areas where these arcs cluster, particularly near structures or changes in depth.
Practical Tips for Using Your Humminbird Fish Finder
Adjusting Settings
Experiment with different settings to see what works best for your fishing style. Adjust the sensitivity, chart speed, and color palettes to optimize your view based on water conditions.
Use the Zoom Feature
Most Humminbird models offer a zoom feature. This can be particularly useful when you’re in shallow waters, allowing you to see details more clearly.
Regularly Update Your Software
Humminbird frequently releases software updates that enhance performance and add new features. Make sure to keep your device updated for the best experience.
Practice Makes Perfect
Becoming proficient at reading your Humminbird fish finder takes time and practice. Spend time on the water experimenting with different settings and interpreting data. The more you use it, the better you will become at recognizing patterns and identifying fish.
Utilize Online Resources
There’s a wealth of information available online. Join forums, watch tutorial videos, and read articles to learn from experienced anglers. Humminbird’s official website also provides manuals, FAQs, and customer support to help you maximize your device’s capabilities.
Conclusion
Reading a Humminbird fish finder may seem challenging initially, but with practice and patience, you can master the art of interpreting sonar data. By understanding the basics of sonar technology, adjusting settings, and knowing what to look for, you can significantly enhance your fishing experience. With your Humminbird fish finder as your guide, you’ll be well-equipped to locate fish and enjoy every moment on the water. Happy fishing!
